我以為可以一直按「下一步」 就裝好了
安裝 mod_wsgi 可以直接從 https://www.lfd.uci.edu/~gohlke/pythonlibs/#pil 下載位置

下載完後把這個 mod_wsgi 放到 python 的根目錄中,然後打開 cmd cd到 python的根目錄,執行下列指令:。
pip install "mod_wsgi-4.8.0-cp38-cp38-win_amd64.whl"
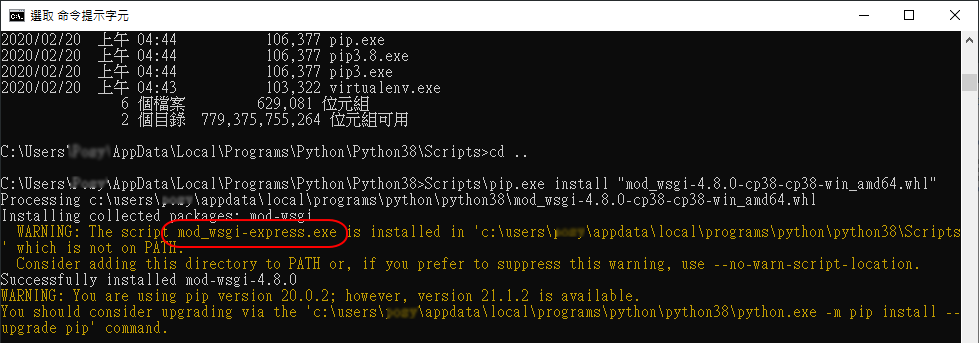
mod_wsgi-express module-config

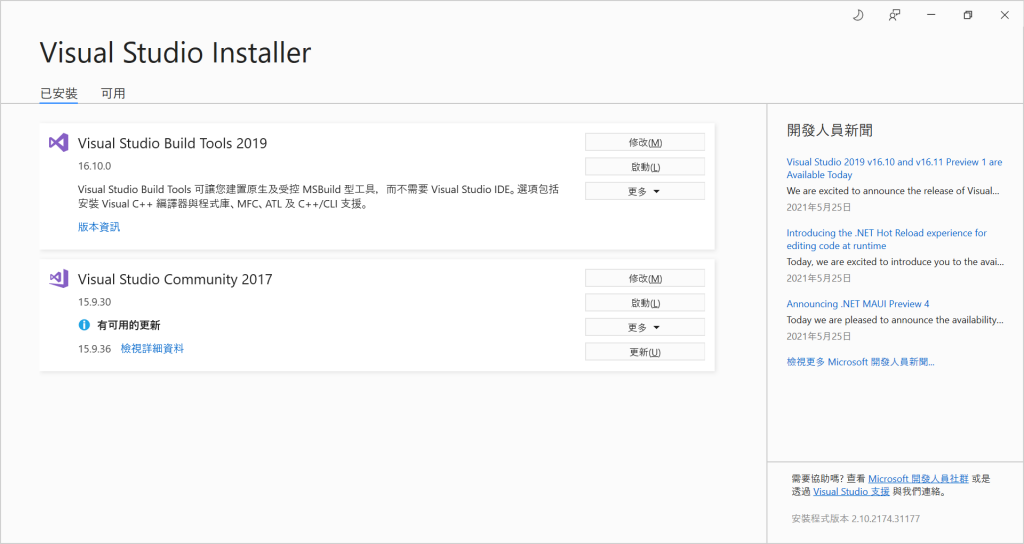
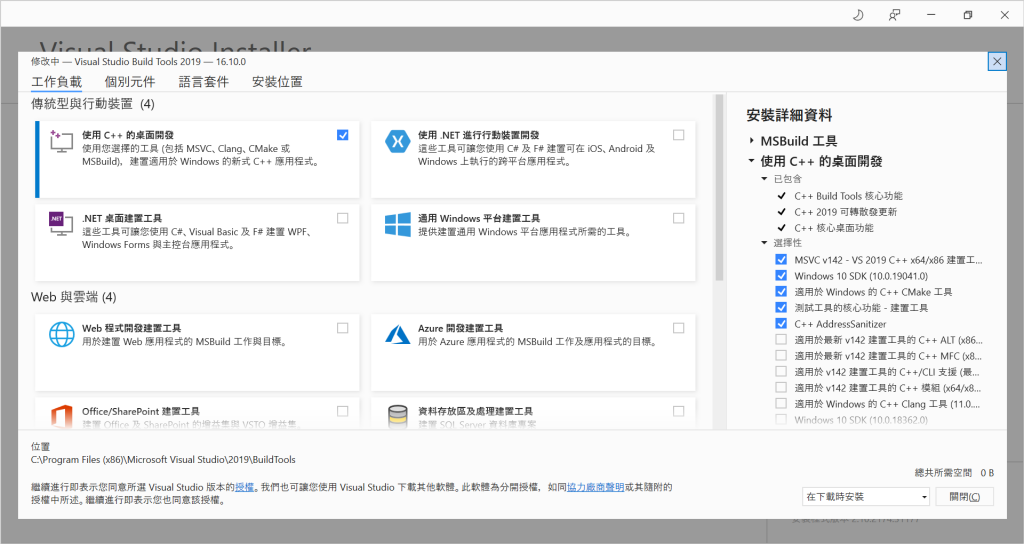
- Install Microsoft Visual C++ Build Tools: https://visualstudio.microsoft.com/visual-cpp-build-tools/
- Point
MOD_WSGI_APACHE_ROOTDIRto your installation (default isC:/Apache24). Use forward slashes:
set MOD_WSGI_APACHE_ROOTDIR=C:/Users/me/apache
- Install mod-wsgi package:
pip install mod-wsgi
Note: Make sure that the python version you’re using has the same architecture (32/64 bit) as your Apache version.
- Get module configuration:
mod_wsgi-express module-config
~\AppData\Local\Programs\Python\Python39\Lib\site-packages\mod_wsgi\server\apxs_config.py
路徑會有反斜線,需改成 /
- Copy the output of the previous command into your Apache’s
httpd.conf.
When you restart Apache, mod_wsgi will be loaded. Check out the quickstart Hello World example to test your mod_wsgi installation.
Apache 文件根目錄放一個 wsgi 檔
import sys, os
sys.path.insert(0, os.path.dirname(file))
from et_test import app
application = app
flask 主程式
from flask import *

app = Flask(__name__)

@app.route('/')
def index():
   return render_template("home.html")

if __name__ == '__main__':
   app.run()
httpd.conf
WSGIScriptAlias / "~/Apache24/htdocs/test.wsgi"